Deploy VMware vCenter Server 5.5 Update 1 Appliance using an OVF template
Today I am deploying a VMware vCenter Server 5.5 Update 1 Appliance by using the OVF template available for download on the VMware web site. Before starting, I downloaded the template files from https://my.vmware.com/web/vmware/details?productId=352&downloadGroup=VC550B. Once downloaded, here are the steps to deploy the VM:
1. From the File menu choose Deploy OVF Template…
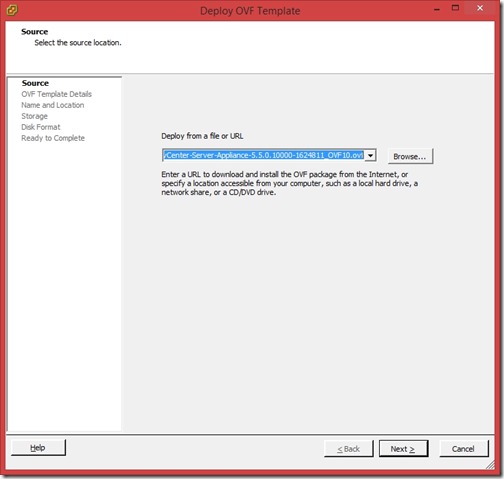
2. Browse to locate the VMware-vCenter-Server-Appliance-5.5.0.10000-1624811_OVF10.ovf file and click OK. Then click Next.
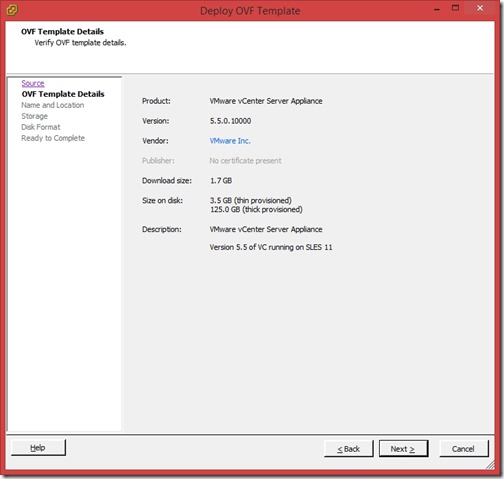
3. Review the template details and click Next
4. Enter a name for the VM and click Next
5. Select a datastore and click Next
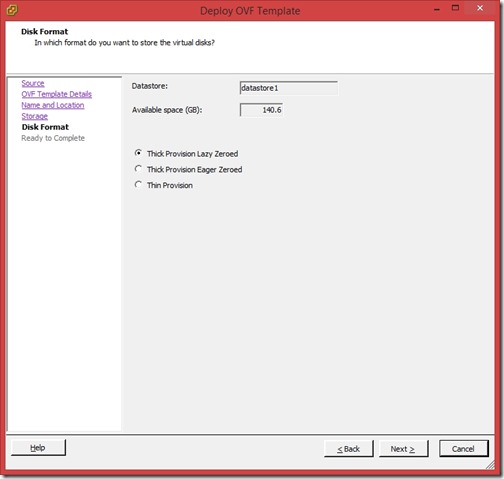
6. Select the desired disk format and click Next
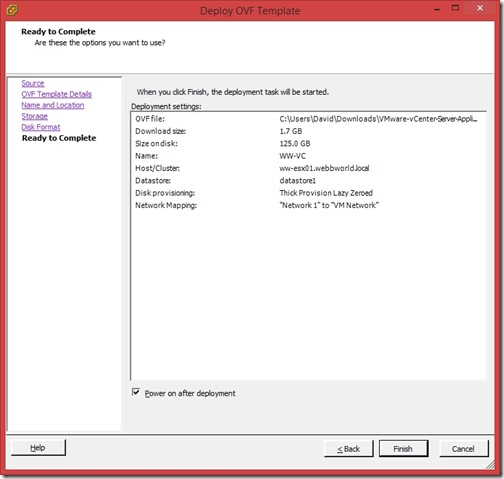
7. Click Finish
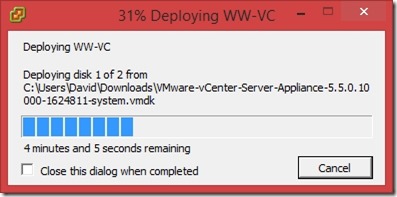
The VM will now begin to deploy. This may take some time…
8. Click Close
Once the VM is deployed these are the steps required to configure it:
1. Power on the VM
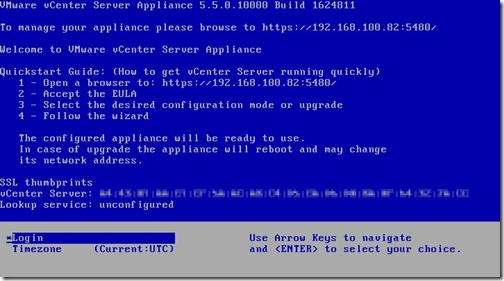
2. Browse to https://<ip address>:5480 (the IP address, acquired from DHCP if available, will be shown on the console)
3. Login using the default credentials:
Login: root
Password: vmware
4. The vCenter Server Setup wizard will start. Accept the license agreement and click Next.
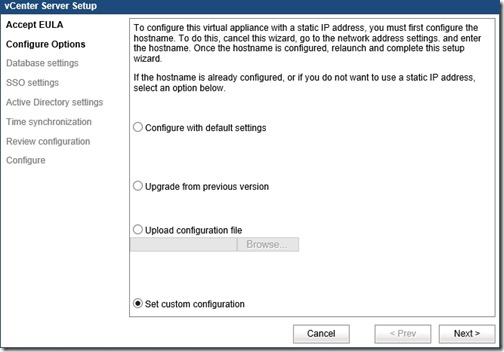
5. Choose Set custom configuration and click Next
6. Choose to use an Embedded database and click Next
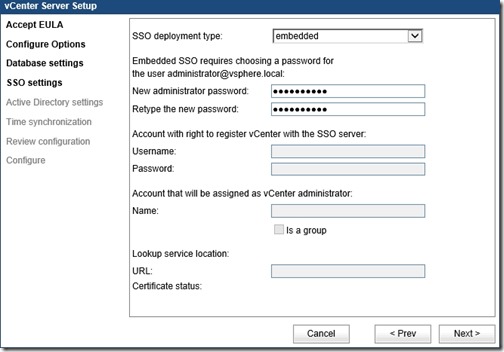
7. Choose to use Embedded SSO deployment and supply a new administrator password. Click Next
8. If required, configure Active Directory settings. Click Next
9. Configure NTP settings if required and click Next
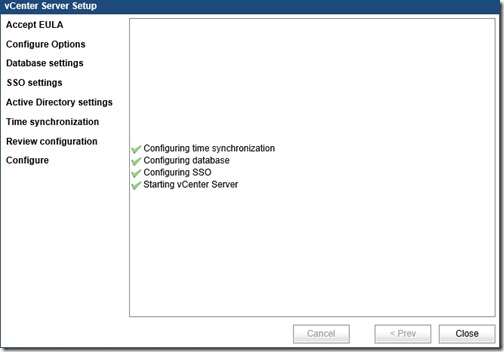
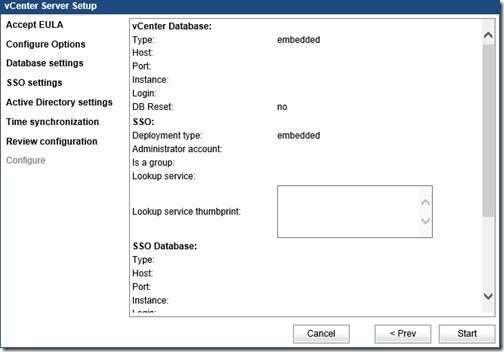
10. Review the configuration settings and click Start
Wait while the configuration is applied. This may take several minutes.
11. When configuration is complete click Close
 12. On the network tab click the Address button and set a static IP address. Click Save Settings.
The vCenter server is now available to connect on the new IP address.
![[BlogBookmark]](http://www.adventuresinvmware.co.uk/wp-content/plugins/bookmarkify/blogbookmark.png)
![[Blogsvine]](http://www.adventuresinvmware.co.uk/wp-content/plugins/bookmarkify/blogsvine.png)
![[del.icio.us]](http://www.adventuresinvmware.co.uk/wp-content/plugins/bookmarkify/delicious.png)
![[Digg]](http://www.adventuresinvmware.co.uk/wp-content/plugins/bookmarkify/digg.png)
![[Facebook]](http://www.adventuresinvmware.co.uk/wp-content/plugins/bookmarkify/facebook.png)
![[Furl]](http://www.adventuresinvmware.co.uk/wp-content/plugins/bookmarkify/furl.png)
![[Google]](http://www.adventuresinvmware.co.uk/wp-content/plugins/bookmarkify/google.png)
![[LinkedIn]](http://www.adventuresinvmware.co.uk/wp-content/plugins/bookmarkify/linkedin.png)
![[MySpace]](http://www.adventuresinvmware.co.uk/wp-content/plugins/bookmarkify/myspace.png)
![[Reddit]](http://www.adventuresinvmware.co.uk/wp-content/plugins/bookmarkify/reddit.png)
![[Slashdot]](http://www.adventuresinvmware.co.uk/wp-content/plugins/bookmarkify/slashdot.png)
![[StumbleUpon]](http://www.adventuresinvmware.co.uk/wp-content/plugins/bookmarkify/stumbleupon.png)
![[Twitter]](http://www.adventuresinvmware.co.uk/wp-content/plugins/bookmarkify/twitter.png)
![[Windows Live]](http://www.adventuresinvmware.co.uk/wp-content/plugins/bookmarkify/windowslive.png)
![[Yahoo!]](http://www.adventuresinvmware.co.uk/wp-content/plugins/bookmarkify/yahoo.png)
![[Email]](http://www.adventuresinvmware.co.uk/wp-content/plugins/bookmarkify/email.png)